How to Connect a DVD Player to a Hisense Roku TV
DVD players may not be as popular as they once were, but many people still use them to watch movies, concerts, family videos, and educational content. Fortunately, connecting a DVD player to a Hisense Roku TV is usually a quick and straightforward process.
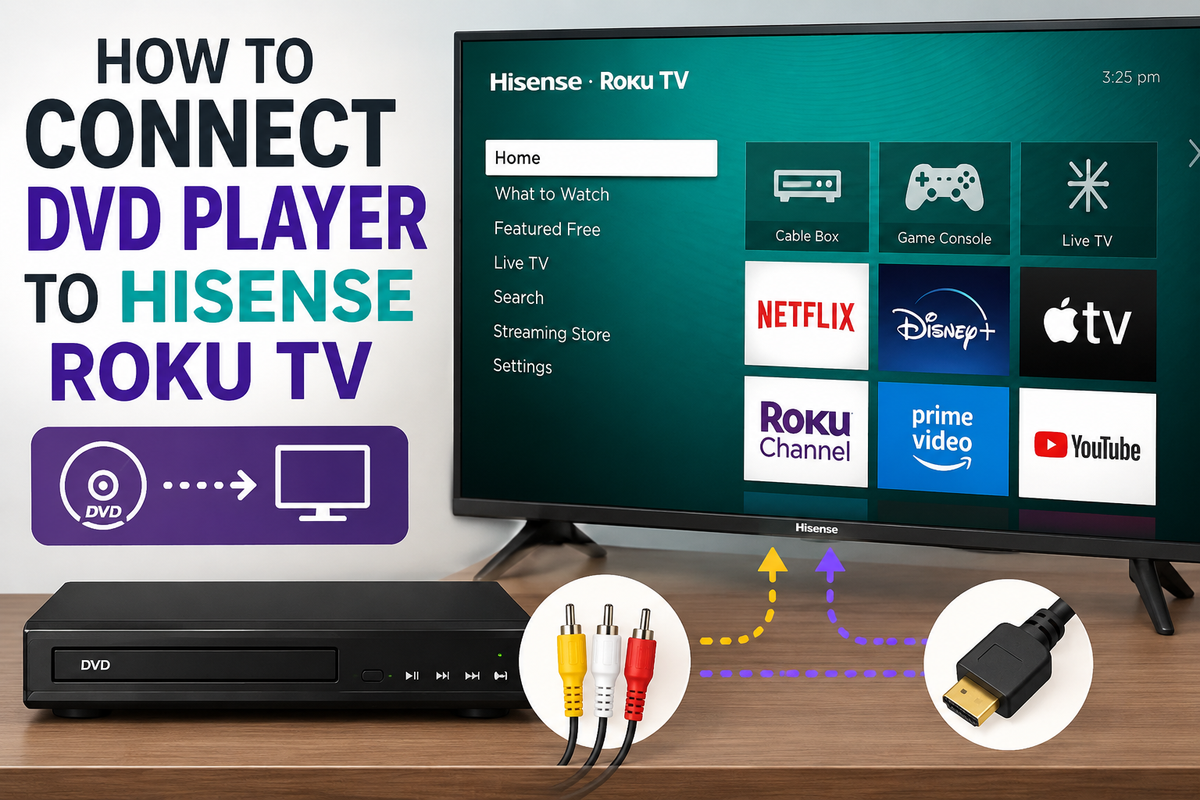
This guide explains how to connect your DVD player to a Hisense Roku TV using HDMI, composite (AV) cables, or an external converter.
Check Which Ports Your Devices Have
Before connecting anything, inspect the back or side panel of both your DVD player and your Hisense Roku TV.
Most DVD players use one of these connection types:
- HDMI
- Composite AV (red, white, and yellow cables)
- Component cables (red, blue, and green video connectors)
Most modern Hisense Roku TVs include at least one HDMI port. Some models also support composite AV connections through a dedicated AV port or an adapter.
Method 1: Connect a DVD Player Using an HDMI Cable
An HDMI connection provides the best picture and sound quality.
Follow these steps:
- Turn off both devices.
- Connect one end of the HDMI cable to the HDMI output on the DVD player.
- Connect the other end to an available HDMI port on your Hisense Roku TV.
- Turn on the TV.
- Turn on the DVD player.
- Press the Home button on the Roku remote.
- Select Settings if necessary.
- Navigate to TV Inputs.
- Choose the HDMI input connected to the DVD player.
If everything is connected correctly, the DVD player's home screen should appear on the television.
Method 2: Connect a DVD Player Using Composite AV Cables
Older DVD players often use composite cables.
You'll need three connectors:
- Yellow for video
- White for left audio
- Red for right audio
Setup instructions:
- Turn off both devices.
- Connect the yellow cable to the video output on the DVD player.
- Connect the red and white cables to the audio outputs.
- Plug the opposite ends into the corresponding AV inputs on the TV.
- Turn on both devices.
- Open the Roku home screen.
- Select the AV input.
If your television doesn't have traditional red, white, and yellow ports, check the user manual to see whether an AV adapter is required.
Method 3: Use an HDMI Converter for Older DVD Players
Some older DVD players aren't directly compatible with newer televisions.
In this situation, you can use:
- An RCA-to-HDMI converter
- A component-to-HDMI converter
Here's how:
- Connect the DVD player to the converter.
- Connect the converter to the TV using an HDMI cable.
- Power on the converter if it requires an external power source.
- Select the appropriate HDMI input on the Roku TV.
This method allows older hardware to work with modern televisions.
The TV Doesn't Detect the DVD Player
If your Hisense Roku TV doesn't recognize the DVD player, try these troubleshooting steps:
Verify the input source
Make sure you've selected the correct HDMI or AV input.
Check all cable connections
Loose cables are one of the most common causes of connection problems.
Test another HDMI port
If your TV has multiple HDMI ports, try using a different one.
Restart both devices
Turn off the TV and the DVD player, unplug them for one minute, and then reconnect everything.
Replace the cable
A damaged HDMI or AV cable can prevent the devices from communicating.
Why Is There Sound but No Picture?
This problem is usually caused by:
- An incorrectly connected video cable
- A faulty cable
- An unsupported video format
- A damaged DVD
Try another DVD and reconnect the cables before assuming the player is defective.
Final Thoughts
Connecting a DVD player to a Hisense Roku TV usually takes only a few minutes. An HDMI cable offers the simplest setup and the best image quality, while older DVD players may require AV cables or an external converter.
Once the connection is complete, simply select the correct input on your Roku TV and enjoy your favorite movies.